
Do You Need an Airtightness Test for Your Retrofit?
If you’re planning a retrofit, you’ll hear a lot about insulation, heat pumps, windows, and ventilation. But there’s one piece that can quietly affect all of them: airtightness.
An airtightness test (often called a blower door test) measures how leaky a home is. It’s one of the clearest ways to confirm whether retrofit work is reducing draughts and uncontrolled heat loss – and it can also help inform the right ventilation approach afterwards.
Do you need one for your retrofit? Not always. But for deeper, more “whole-home” upgrades, it can be a very useful step – especially if comfort and draughts are a key concern, or you want a clear before-and-after measurement.
This post explains what airtightness testing measures, what happens during a blower door test, what targets are commonly used, and when it’s worth considering as part of a well-planned retrofit.
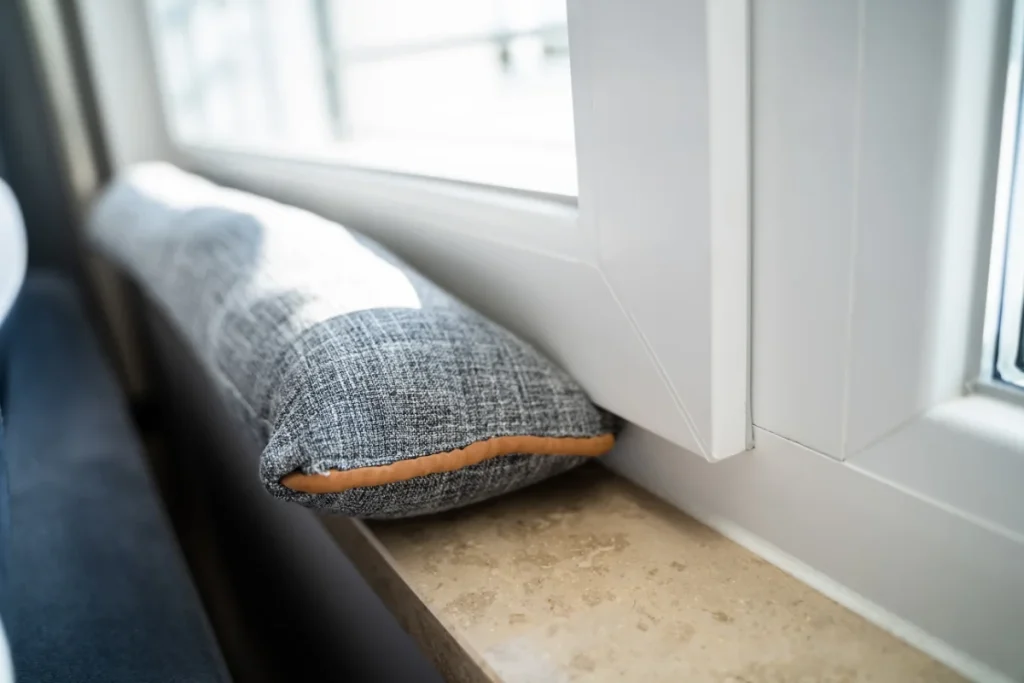
What airtightness testing measures (and why it’s important)
Every home has small gaps where air can move in and out: around attic hatches, service penetrations, window frames, pipework, and junctions between walls and floors. That uncontrolled air movement can lead to:
- Draughts and cold spots
- Higher heating demand (because warm air escapes and cold air replaces it)
- Less consistent comfort from room to room
- Moisture risk in some cases (warm, moist air moving into colder parts of the building fabric)
A blower door test measures this leakage in a consistent way, so you can compare performance against a benchmark and (where relevant) confirm improvements after airtightness works.
What is a blower door test?
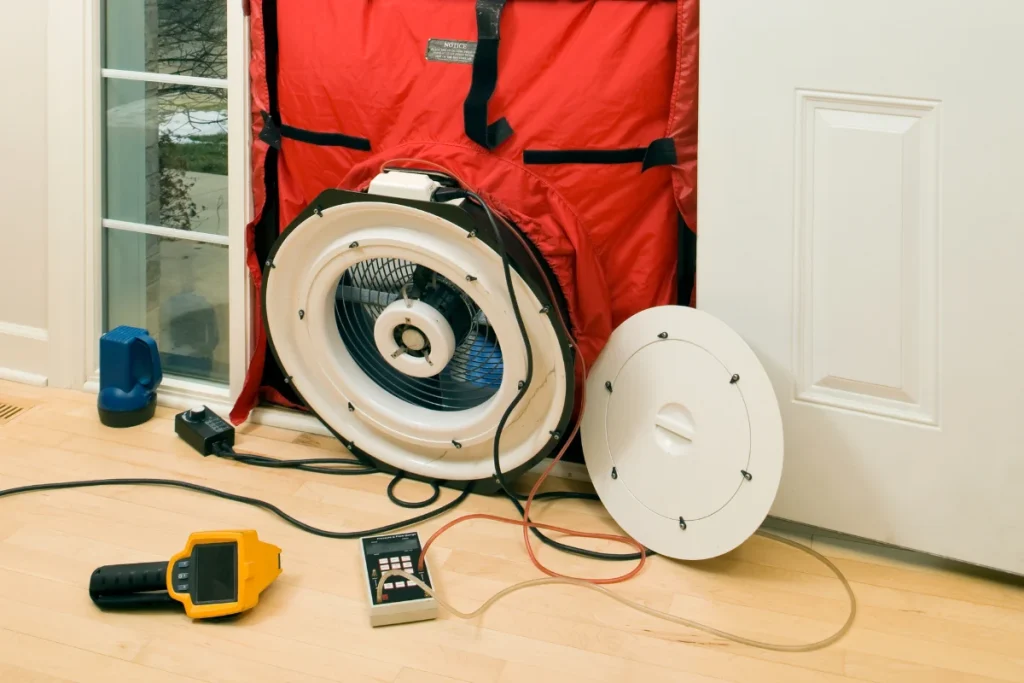
A blower door test is an air leakage test carried out using a temporary fan fitted into an external doorway.
The fan and sensors create a controlled pressure difference (typically 50 Pascals). By measuring the airflow needed to maintain that pressure, the tester can calculate how much air is leaking through the building envelope.
What happens during the test (step-by-step)
While every tester has their own process, the overall flow is usually:
- Set up the blower door in an external doorway.
- Create a controlled pressure difference (often both negative and positive pressure tests are used).
- Identify draught locations while the home is under pressure – this makes leaks easier to find.
- Record and report results in a formal test report.
In simple terms: the blower door creates a pressure difference that makes draughts easier to detect, so the leakage points can be identified and sealed.
How airtightness is measured: understanding the numbers
You’ll often see airtightness expressed as an air permeability rate (commonly written as m³/hr/m² at 50 Pascals). It’s a standard way of measuring how much air leaks through the building envelope under test conditions.
In many existing homes, results can be relatively high before any airtightness work is done. For deeper retrofits, a commonly used benchmark is around 5 m³/hr/m² or below, as this aligns with the 2019 nZEB performance level used in modern building standards.
Older standards used a higher limit (often referenced as 7 m³/hr/m²), which is one reason you’ll see different targets mentioned depending on the age of the building and the scope of works.
Target airtightness levels: what’s commonly used (and what’s realistic in a retrofit)
Airtightness benchmarks depend on the home type, construction, and scope of works. The goal isn’t to chase a number for its own sake – it’s to:
- Reduce uncontrolled draughts and heat loss
- Improve comfort
- Support efficient heating
- Make ventilation work properly
For many deeper retrofits, around 5 m³/hr/m² or below is often used as a useful benchmark, because it aligns with modern performance expectations (including the 2019 nZEB standard referenced above).
Do you need an airtightness test for your retrofit?
Not always.
A blower door test is most useful when you’re doing a deeper retrofit (multiple measures), and you want to reduce draughts, improve comfort, and verify that the home is performing as expected.
You might consider it if:
- You’re doing a whole-home style upgrade (multiple fabric measures, heating, ventilation)
- Draughts and cold spots are a major issue
- You want a clear measurement of improvement (before/after)
- You’re adding or upgrading mechanical ventilation and want the overall approach to be joined up
You may not need it if:
- You’re doing a single measure (for example, attic insulation only)
- Your main goal is a quick improvement rather than a deep retrofit outcome
- Budget is tight and you’d rather prioritise core measures first
Leetherm’s approach: airtightness testing is not carried out on all projects by default. It’s typically done on retrofit projects if the homeowner requests it, and there is a charge for the airtightness works and the test. If you’re unsure, it’s worth discussing early so you can decide what’s right for your home and budget.

Common air leakage points (and why they vary)
Homeowners often ask: “Where do you usually find the leaks?”
The honest answer is: every house is different.
That said, leaks are commonly found where different parts of the building meet, or where services pass through the building envelope. Typical examples include:
- Attic hatches and loft access points
- Around window and door frames
- Pipe and cable penetrations
- Recessed downlights and ceiling voids
- Gaps at skirting boards and floor junctions
- Fireplaces and chimneys (where present)
The blower door test helps because it makes those draught paths much easier to detect in real time.
How airtightness impacts heating efficiency and comfort
Even the best heating system can’t perform well in a leaky home.
When uncontrolled air leakage is high:
- Warm air escapes faster
- The heating system has to run longer to maintain temperature
- Rooms can feel uneven (warm in one area, cold in another)
- You may notice persistent draughts even after other upgrades
Improving airtightness is one of the reasons deeper retrofits often feel like a different home: steadier temperatures, fewer cold spots, and less “chasing the heat”.
Airtightness and ventilation: why they go together
Airtightness and ventilation are two sides of the same coin.
As you reduce uncontrolled air leakage, you need to make sure the home still has the right ventilation strategy for good indoor air quality.
Where airtightness works are carried out, mechanical ventilation may also be recommended as part of the overall approach.
Grants: is there support for airtightness and ventilation?
Under SEAI’s One Stop Shop pathway for multiple energy upgrades, SEAI lists fixed grants for:
- Air tightness: €1,000
- Mechanical ventilation: €1,500
Always confirm eligibility and the right measures for your home with your provider, as requirements can change, and depend on the overall upgrade plan.
How Leetherm can help
Leetherm delivers home energy upgrades, including deeper retrofits through the One Stop Shop model.
If you’re planning a retrofit and want to understand whether airtightness testing makes sense for your home – and how it fits with insulation, heating, and ventilation – get in touch. We’ll talk you through the options and help you plan the right sequence.
